Welcome back to the NaraMora journal! One of the most exciting, and sometimes nerve-wracking, parts of any big project is the moment you have to make a decision that will define everything that comes after. For us, that moment just happened.
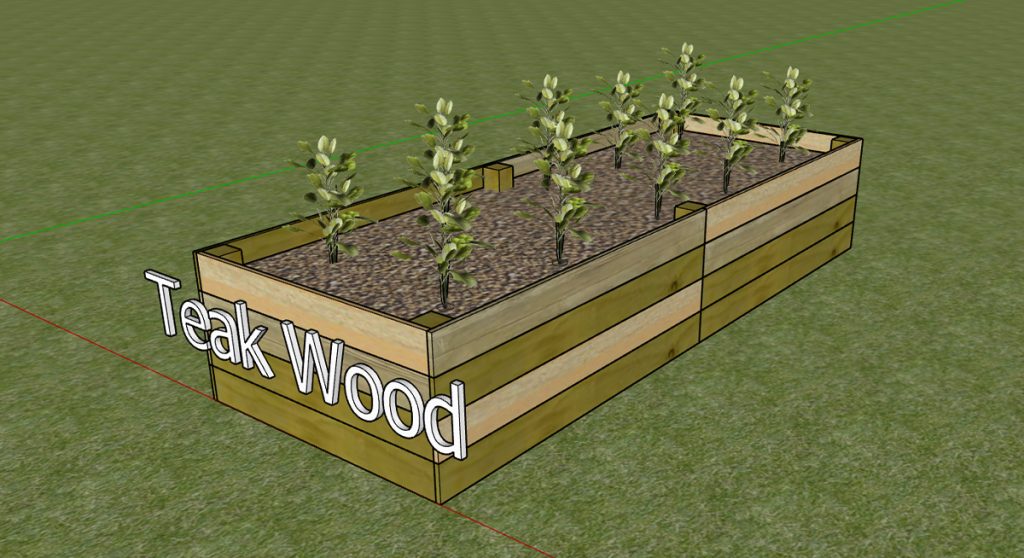
When I first shared the vision for our raised garden beds, my heart was set on using beautiful, classic teak wood. It felt so right. I live in Jepara, the heart of Indonesia’s woodworking tradition, and I dreamed of crafting these beds with the same spirit and quality that our town is famous for.
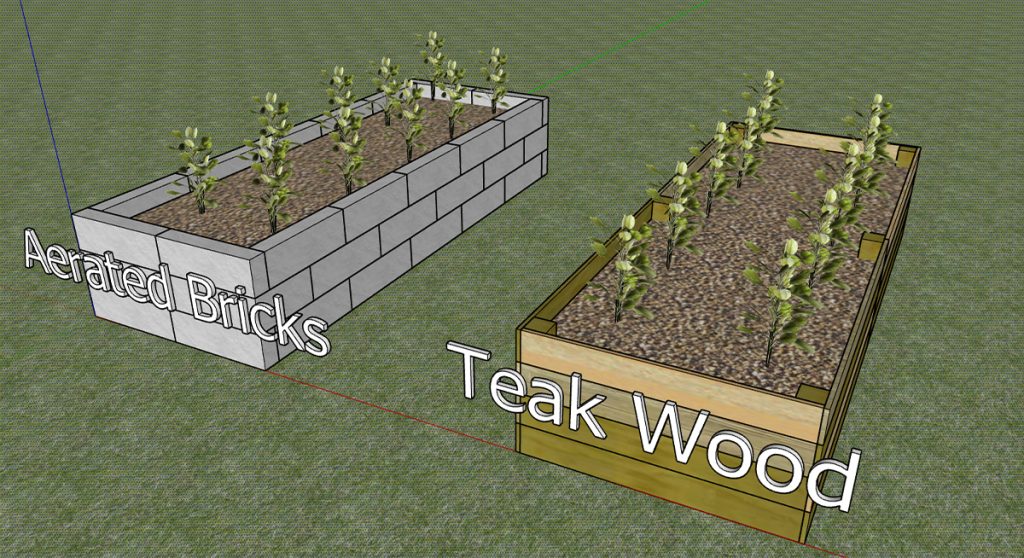
But a dream is one thing, and a real-world budget, a tropical climate, and a long-term plan are another. After many late-night sessions with my notebook and a calculator, we’ve made a significant pivot. We’ve decided to build our raised beds not with wood, but with aerated bricks, or bata ringan.
This wasn’t a simple compromise. It was a deep dive into what truly matters for this project: durability, practicality, and our family’s long-term enjoyment. I want to walk you through every step of this decision, because it’s a perfect example of the real, honest journey we’re on with NaraMora.
The Romantic Idea of Wood (And Its Complicated Reality)
Let’s be honest, the vision of a garden framed in rich, warm wood is hard to resist. It’s natural, beautiful, and feels timeless. My initial plan was to build something that would be a showcase of Jepara’s craft.
However, the more I researched, the more I had to confront three big, unavoidable realities of using wood for this specific project, in this specific climate.
1. The Staggering Cost: This was the elephant in the room. I priced out the cost of thick (2 cm), high-quality teak boards—the only kind of wood I’d be willing to use for something I want to last. The number was… sobering. It would have consumed such a large portion of our entire backyard budget that it would have delayed all the other exciting parts of our project (like the ponds and the kitchen) for a very long time.
2. The Battle Against Nature (Durability in the Tropics): Jepara is beautiful because it’s lush and tropical. But that same environment is incredibly harsh on outdoor wood. We have intense, year-round sun, high humidity, and a torrential rainy season. This creates a perfect storm for two of wood’s greatest enemies:
- Rot: Constant moisture is the enemy of wood. Even the most rot-resistant woods like teak require care and proper finishing to survive for years in direct contact with wet soil.
- Termites: This is a huge deal here. Termites can turn a beautiful wooden structure into dust in a surprisingly short amount of time. While teak has natural oils that deter them, no wood is 100% immune forever.
3. The Long-Term Maintenance: A wooden raised bed isn’t a “build it and forget it” project. To keep it looking good and lasting long, it would require regular maintenance—sanding and re-applying protective oils every year or two. That’s a long-term commitment I had to be honest about.
A New Contender: The Practical Power of Aerated Bricks
With the challenges of wood piling up, I started looking at bata ringan not as a “cheaper” option, but as a “smarter” one. The more I looked, the more advantages I found.
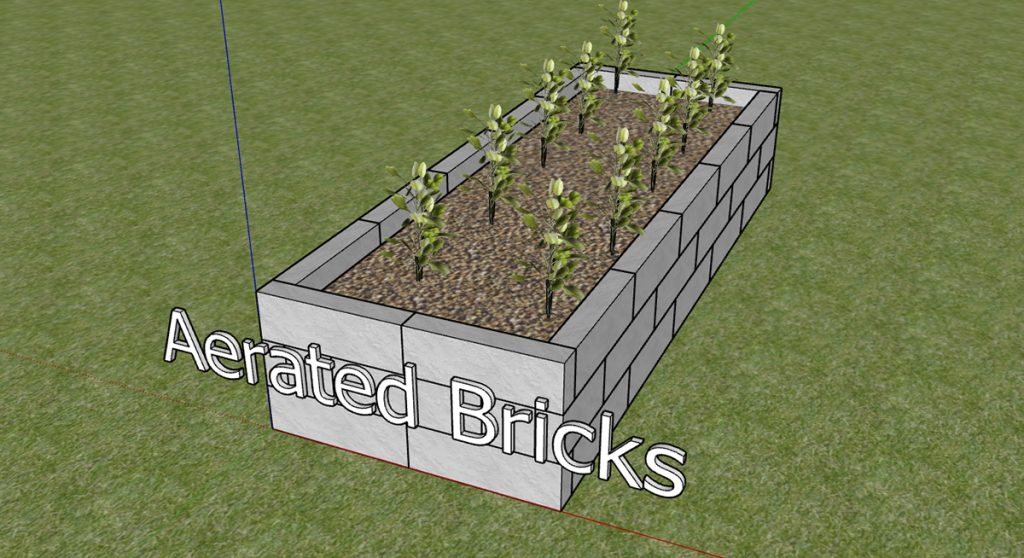
A Quick Cost Comparison: The Numbers Don’t Lie
To make a real decision, I created a simple comparison table. These are rough estimates based on local prices in Jepara, but they tell a powerful story.
| Material | Initial Cost (Estimated) | Lifespan (in our climate) | Maintenance |
|---|---|---|---|
| Teak Wood | High | 10-15 years (with care) | Yearly sanding & oiling |
| Aerated Bricks | Low | 30+ years (effectively permanent) | None (optional painting) |
Seeing it laid out like this was a game-changer. The bricks were not only dramatically cheaper upfront, but they would also outlast the wood with virtually zero maintenance.
The “Hidden” Superpower: Insulation
This was the benefit that truly sold me. The tiny, trapped air bubbles that make aerated bricks so light also make them a fantastic insulator. In a tropical climate, the walls of a garden bed can get incredibly hot under the midday sun, literally baking the delicate roots of your plants. The insulating properties of the bricks will create a much more stable and cooler soil temperature, protecting the roots and reducing heat stress on the plants. This is a huge, science-backed advantage.
A New Skill, A Better Story
Finally, this pivot felt right for our brand. The NaraMora story is about a “passionate learner’s journey.” If I had used wood, I would have been using skills I was already familiar with. By choosing bricks, I am forcing myself to become a complete beginner again. I have to learn about foundations, mortar, and leveling. Documenting my journey of learning this new masonry skill feels more authentic and relatable than pretending to be a master carpenter.
Addressing the Challenges of Bricks
Of course, no material is perfect. My research uncovered two main challenges with using aerated bricks for a garden, but thankfully, the solutions are simple and effective.
- The pH Problem: Being a concrete product, aerated bricks are alkaline and can leach lime into the soil, raising the pH. Most vegetables prefer a slightly acidic to neutral soil.
- Our Solution: We will line the entire inside of the brick walls with a thick sheet of builder’s plastic. This creates a permanent, waterproof barrier between the bricks and the soil, completely solving the pH problem.
- The Water-Wicking Problem: The bricks are porous and can act like a sponge, pulling moisture out of the soil.
- Our Solution: The plastic liner will prevent most of this. To solve the rest, we will apply a thick layer of mulch on top of the soil, which is a best practice for water conservation anyway.
The Final Decision: Confidence in Our New Direction
So, the decision is made. It feels right. It feels smart. It feels like the first real, tangible step in the NaraMora journey.
This experience has taught me a valuable lesson: the best material isn’t always the most beautiful or the most expensive. The best material is the one that best solves your specific problems, fits your budget, and aligns with your long-term goals. For us, that material is the humble, hardworking aerated brick.
I’m genuinely excited to get my hands dirty and learn a new skill. The journey to our first build just got a lot more interesting.
What do you think? Have you ever had to make a big pivot in one of your own projects? I’d love to hear your story in the comments.
Warmly, Zulham Efendi

