Hello, friends, and welcome back to the NaraMora journal!
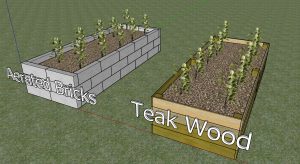
For the past few weeks, we’ve been living in the world of dreams and digital plans. We’ve sketched, we’ve researched, we’ve debated, and we’ve made some big pivots (like our move from wood to bricks). But this weekend, I did something that made this whole project feel incredibly real.
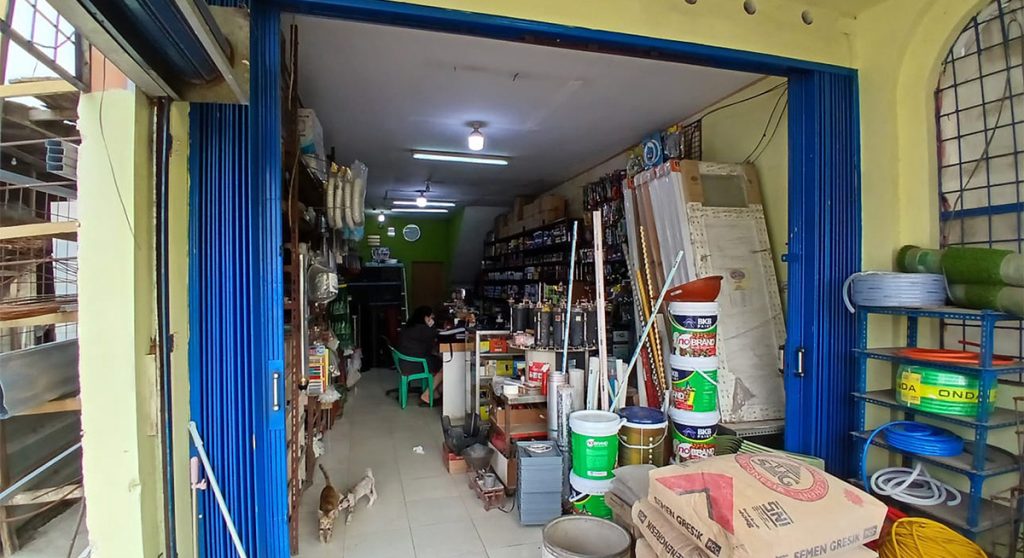
I took an hour on a hot Saturday afternoon and I went on a field trip. I visited our local toko bangunan (building supply store) here in Jepara.
My goal wasn’t to buy anything just yet. As I’ve mentioned, my furniture business is keeping me very busy, and we’re still in the process of saving up for this first big build. My goal today was to move from “internet research” to “real-world reality.” I wanted to see the materials with my own eyes, touch them with my own hands, get accurate, up-to-date pricing, and just generally wrap my head around the task ahead. This is a key part of sourcing DIY garden materials.
For my international friends, the toko bangunan is a cornerstone of Indonesian life. It’s not like the giant, air-conditioned “big box” stores like Home Depot you might be used to. These are often family-owned, open-air shops where materials are stacked to the ceiling and the staff have encyclopedic knowledge of every type of cement, pipe, and screw. They are the heart of every construction and DIY project in the country, and I was so excited to walk in with my little notebook and my big plan.
So, come along with me. Here’s a little photo tour of what I found while I was sourcing DIY garden materials for our raised beds.
The Main Event: Sourcing Our Aerated Bricks (Bata Ringan)
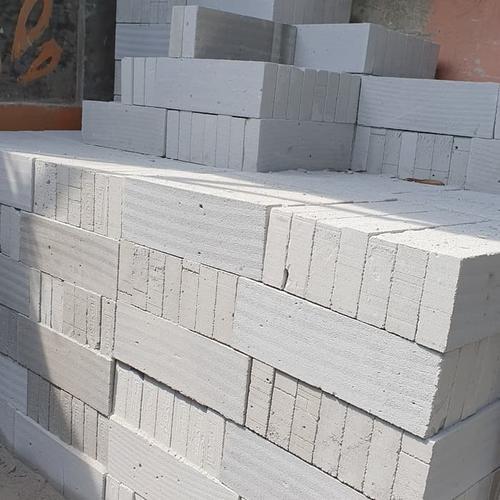
This was the first thing I went to see. After all our research, I wanted to physically lift one of these and see what all the fuss was about.
And I have to say, I’m even more sold on the idea now. They are surprisingly light for their size! The name bata ringan (light brick) is no joke. This is going to make the solo work of building the walls so much more manageable than trying to wrestle with heavy, traditional concrete blocks.
I spoke with the owner for a bit and he showed me the two main brands they carry. It was great to see them side-by-side. Feeling the texture (a bit like a very hard sponge) and seeing the precise, machine-cut edges made me confident that we can get really clean, straight walls. Seeing this big, beautiful stack of potential made the design in my head feel solid and achievable.
The “Glue”: Sourcing Mortar and Adhesives
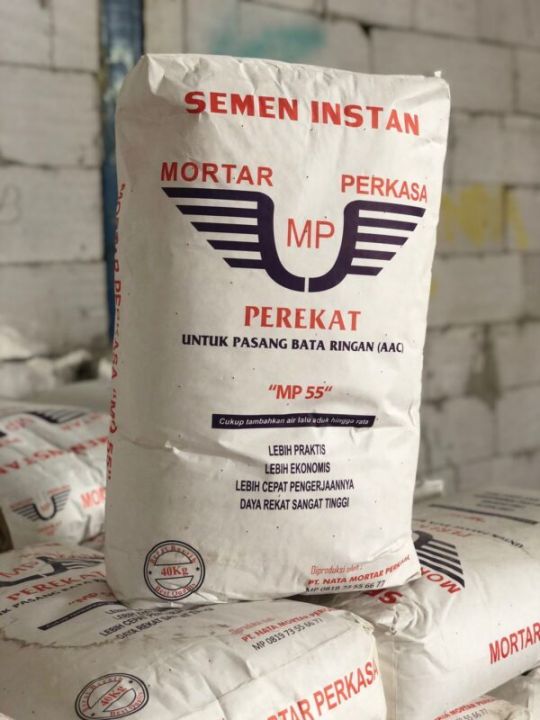
Next, I headed over to the bags of cement. Since I’m a total beginner at masonry, I wanted to make sure I understood exactly what I needed. This part of sourcing DIY garden materials felt like learning a new language.
I learned I’ll actually need two different types of “glue”:
- Traditional Mortar (Sand & Cement): This is for the all-important first course (the bottom layer) of the beds. This is what will bond the bricks to the sand foundation I’ll prepare. This is the heavy-duty, old-school stuff.
- Thin-Bed Mortar Adhesive: For all the other layers, the owner recommended this. It comes pre-mixed in a bag, and you just add water. It’s designed specifically for the smooth, uniform surfaces of aerated bricks. It’s applied with a special notched trowel in a very thin layer. You can read a lot more about the technical details of different mortar types here, but the owner’s simple advice was gold.
Seeing the products and getting that little piece of advice from a real person was invaluable.
The “Secret Weapon”: The Plastic Liner
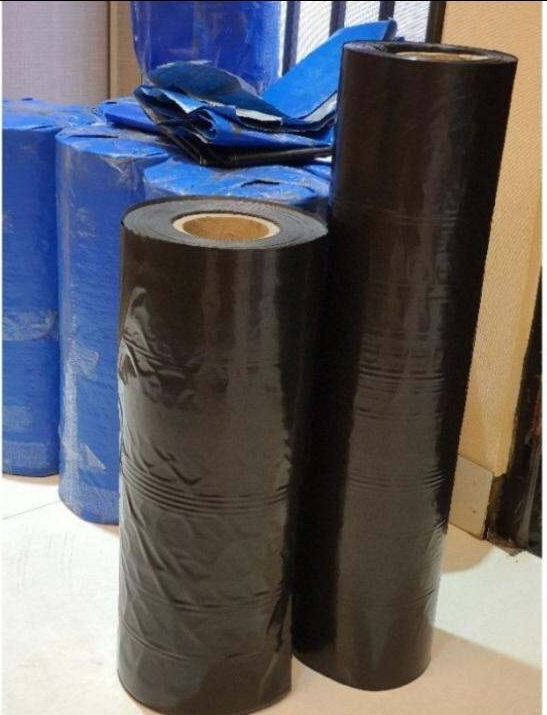
I also hunted down the material for our “secret weapon” to solve the pH and water-wicking problems we researched. Tucked in a corner, I found exactly what I was looking for: big, heavy-duty rolls of black builder’s plastic sheeting.
This is the key to the whole build. Seeing it in person, I could feel how thick and durable it is. This is what will line the inside of the brick walls, protecting our beautiful “super soil” mix from the alkalinity of the concrete and keeping the moisture locked in where the plant roots need it. It’s a simple, inexpensive material, but it’s probably the most important part of this whole “brick bed” plan.
The Tool Aisle: A Dangerous Place for a DIY Dreamer
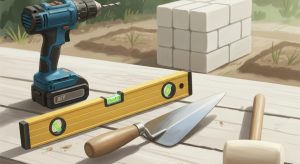
I had to make one last stop, of course. I wandered through the tool aisle, and it was like a real-world version of the DIY tool wishlist post I just wrote!
It was hard not to get distracted. I found myself testing the weight of different trowels, looking at the long spirit levels, and just generally getting excited. Seeing all the tools in one place, I could mentally tick off the items from my list: trowel, rubber mallet, level, buckets… It reinforced my plan and made me feel much more prepared. I didn’t buy anything today, but my wishlist is now finalized and has real, local prices attached to it.
What’s Next: The Reality of the Plan
Walking out of the toko bangunan (empty-handed for now!) felt like a huge success. The project has now moved from my computer screen into the real world. I have my “shopping list,” I have my quotes, and I have a clear visual in my head of how everything will come together.
This whole process of sourcing DIY garden materials in person has given me a huge boost of motivation.
Now comes the hard part: finding the time and the budget. As you know, my furniture business keeps me incredibly busy, and we’re still saving up to buy this first big pile of materials. But this little trip has made it all feel so much more real.
It’s not just a vague dream anymore. It’s a tangible plan. I know what I need, I know where to get it, and I know what it will cost.
The next time I visit this store, it will be to load up a truck. I cannot wait for that day.
Thanks for coming along on this little scouting trip. It’s a small step, but it feels like a big one. What’s a project you’re currently in the planning stages for? Let me know in the comments!
Warmly, Zulham Efendi

